GTA 3 Beginner Guide: Surviving 2001 Liberty City
A GTA 3 beginner guide to the 2001 original: learn the islands, save at hideouts, grab hidden packages, use Pay n Spray, and survive Liberty City.
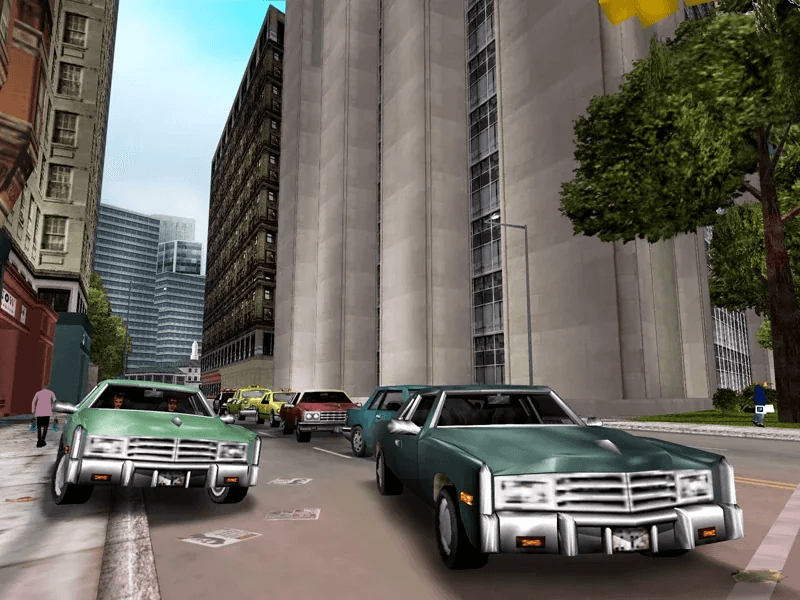
This GTA 3 beginner guide is built for the 2001 original (PS2, then PC and Xbox), the version that plays nothing like a modern open-world game. There is no GPS line on the road and no mission waypoint to follow, water is instant death, and bridges stay sealed until the story opens them. These starting tips will keep you alive and moving through Liberty City.
Learn the island layouts (there is no GPS)
The single biggest adjustment for newcomers: the 2001 GTA III has no GPS waypoint. There is no glowing route painted on the street like in GTA V. All you get is a small radar in the bottom-left corner with colored blips marking targets. If a destination is off-radar, the blip pins to the edge to show you a rough direction, and nothing more. (GPS routing only arrived in the later Definitive Edition remaster.)
Navigation is a skill you build here, not a feature you switch on. Open the full-screen map often and learn the main arteries. Liberty City is split into three islands: Portland, Staunton Island, and Shoreside Vale, and you start on Portland. The faster you internalize Portland's layout, the less time you waste circling the block looking for a blip.
Save at a hideout to advance the clock and reset the world
Your hideout (safehouse) is where you save, and saving does more than write your progress. Saving at a hideout advances the in-game clock by six hours. That is a tool, not a quirk. Use it to:
- Skip night if a mission is easier in daylight, or jump forward to a time you want.
- Respawn the world. Saving refreshes the map: traffic, parked cars, weapon and health pickups, and the general state of the city reset. If you wrecked your ride or burned through your ammo, a quick save-and-reload can put fresh resources back on the streets.
Bank your progress before and after tough missions. There is no autosave safety net in the original, so a failed mission with no recent save means redoing everything since your last visit to the hideout.
Grab hidden packages for free weapons at your hideout
The smartest early investment in GTA III is hunting hidden packages. There are exactly 100 scattered across Liberty City, shown as small spinning white bundles. Each one you collect pays $1,000, and collecting the final package drops a $1,000,000 bonus on top, so a full set is worth $1,100,000.
The real payoff is firepower. For every 10 packages you collect, a new weapon or item permanently spawns outside all three of your hideouts, free to grab whenever you respawn there. The reward ladder is:
- 10: Pistol
- 20: Uzi
- 30: Grenades
- 40: Shotgun
- 50: Body Armor
- 60: Molotovs
- 70: AK-47
- 80: Sniper Rifle
- 90: M16
- 100: Rocket Launcher (plus the $1,000,000)
Collect packages as you explore Portland early on. By 50 you have body armor waiting at home base, which alone makes mid-game missions far more survivable, and a full 100 is required for 100% completion.
Bridges and islands unlock through the story
Do not waste time trying to brute-force your way to the other islands at the start. The map opens in story order, with bridges acting as physical locks.
- Portland to Staunton Island is the Callahan Bridge. It is damaged at the start of the game. You first reach Staunton during the mission "Last Requests" for Salvatore Leone, escaping Portland by boat (with Maria and Asuka), and the bridge itself is repaired right after that mission, which is when you can finally drive across it.
- Staunton Island to Shoreside Vale is the Shoreside Lift Bridge. It exists from the beginning but stays raised, blocking you until later in the game. It comes down around the "Grand Theft Aero" mission for Donald Love.
So for a long stretch of your playthrough, Portland is your entire world. Lean into it: learn the gangs, the Pay 'n' Spray, the weapon shops (Ammu-Nation), and the package locations there before the city expands.
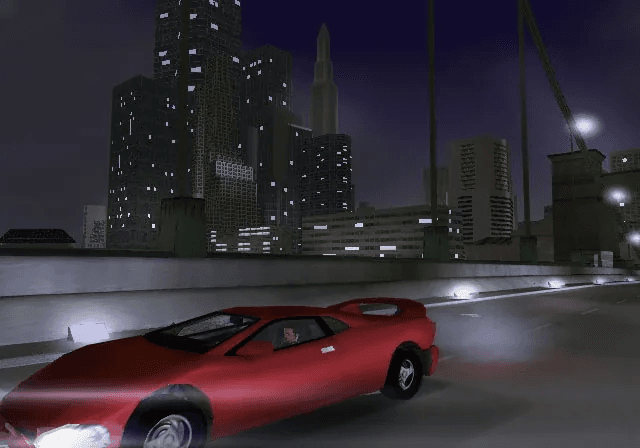
Claude cannot swim, so respect the water
Claude cannot swim. The moment he touches deep water he drowns and you are sent back to the nearest hospital, stripped of your weapons. There is no recovery, no doggy paddle, no swimming mechanic at all (swimming did not arrive in the series until San Andreas in 2004). The in-universe excuse is an oil spill that poisoned the harbor, but the practical lesson is simple:
- Take corners on waterfront roads carefully.
- Watch your speed on bridges and docks.
- Treat every fall into the harbor as a death.
Claude is one botched jump away from losing a loadout you spent real effort assembling, so drive defensively near the coastline.
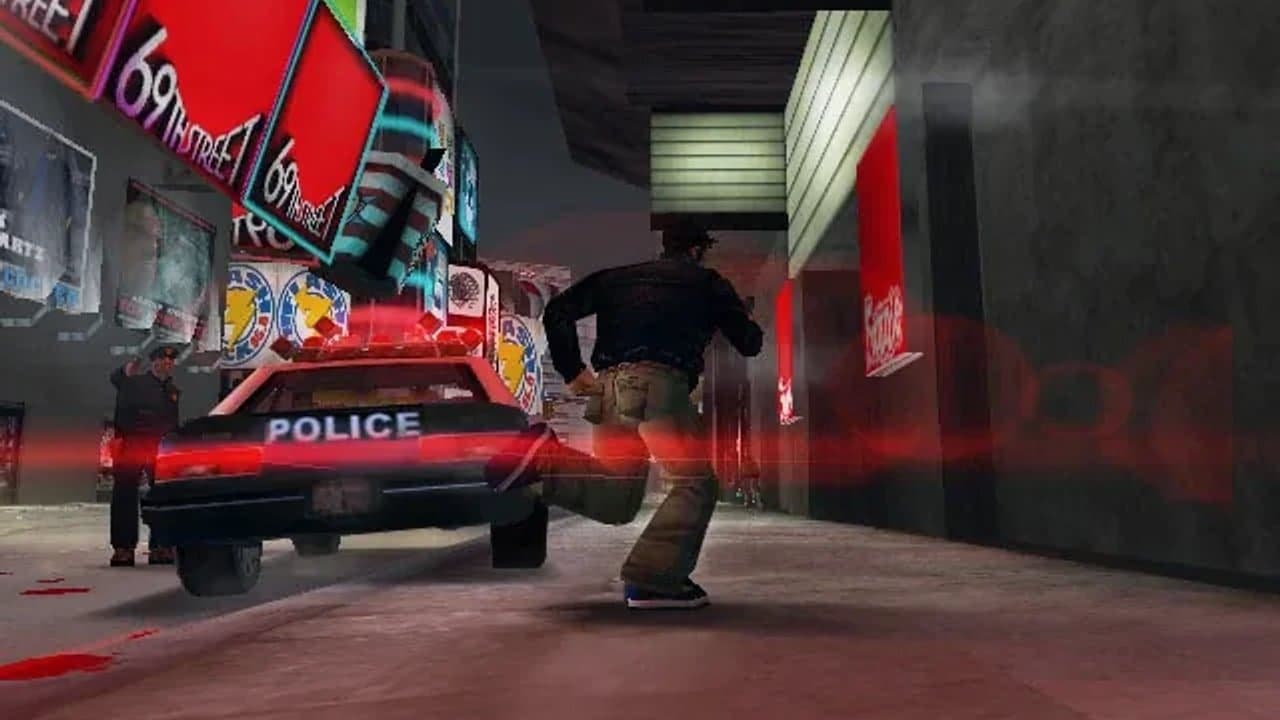
Use Pay 'n' Spray to clear your wanted level
When the police pile on, your fastest reset is a Pay 'n' Spray. Drive your vehicle into the garage and it resprays and repairs the car and drops your wanted level to zero, even cleaning off a multi-star chase. It costs $1,000 per visit, and you cannot use it if you do not have the cash, which is one more reason to grab those hidden packages early.
Two things to know:
- You need to get out of the immediate line of sight to enter. If cops are watching the garage door, the shop may not accept you mid-chase, so break visual contact first.
- A fresh paint job also helps you slip a tail even at lower heat, since the police are tracking the vehicle's appearance.
Memorize the spray shop locations alongside your hideouts and Ammu-Nation. Knowing the nearest one turns a dangerous four-star situation into a quick, clean escape.
Start strong in Liberty City
Put it together and the early game has a rhythm: save at your hideout to bank progress and reset the map, learn Portland by heart because there is no GPS to lean on, vacuum up hidden packages for a free arsenal at home, keep Pay 'n' Spray cash in your pocket, and stay clear of the water. The story will hand you the bridges and the other two islands when it is ready.
For more on the original, browse the GTA III game hub and the working cheat codes list when you want to experiment.